No matter how hard I tried to stick to the plans during the construction of the keel it was useless! The broken keel that I had reglued and screwed started to crackle the moment I tried to bent it to follow the keelline. In the idea of it braking again I decided to cut it into its two parts which I would then skarf join together. To make the scarfs I followed Scott Williams' way. I clamped the two pieces together with one's end as distal to the other's as the length of the scarf I wanted to make( see photos below). The two pieces were then planed with an electrical hand planer making a continuous wedge which was then smoothed with the belt sander. The correct length of the scarf when joining pieces of wood like this is calculated by multiplying their width to their thickness. In my case the two pieces I wanted to join were 44x19 so the minimum length of the scarf should be 44x19=83,6 cm. When the glue was cured the result was almost perfect! The keel was as if it was made from one plank!


Making the scarfs.
 Making the scarfs.
 The two planks glued together, hopefuly for the last time!

 The constraction of two mounts with wheels was necessary so as to be able to moove the assembled hull on my own.


 The two hullsides are layed precisely on top of each other and then screwed together.
 The hullside was marked 10mm from the edge along the keelline and then holes were drilled every 12,5cm.


 The stem that was predrilled along a line given by the plans is first clamped and then wire stiched in place.
 The keel is ready to be drilled and wire stiched in place.


 Sanding the inside face of the lower hullsides.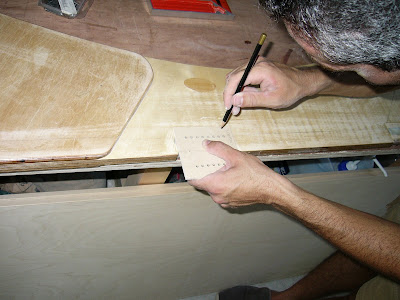


 Drilling the holes for the rope hinges at the stern.
 Reassembling the keel. I glued and screwed the two parts together this time!


